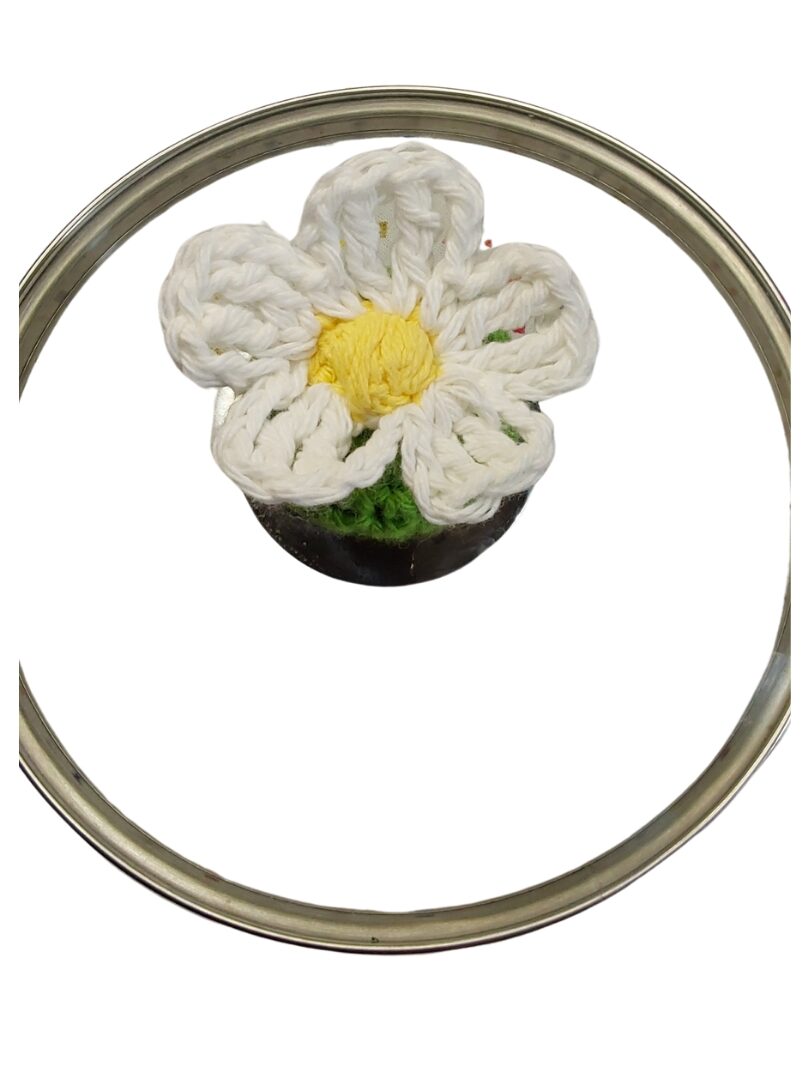
Tired of burning your fingers while cooking? Fix that by making a cute daisy flower pot knob lid cover. This lid cover is made with 100% cotton yarn and 4mm crochet hook.
This lid cover will add beautiful flowers in your kitchen and protect you from coming in contact with metal handles that overheat.
As an amazon Associate this post contains affiliate links and if you choose to purchase after clicking a link I may receive a commission at no extra cost to you.
Knob Cover
First, you will start by making your knob cover. This is the green part that goes around your round knob that is on your cooking lid.
Start with your green yarn and 4mm crochet hook.
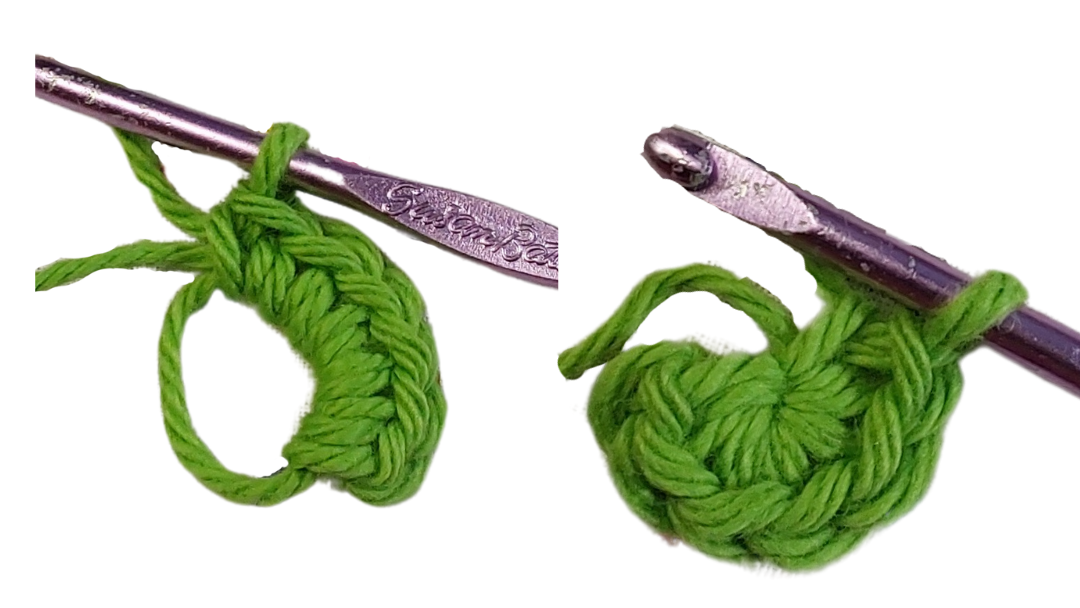
Make magic circle:
Start with making a slip knot about 8 inches from the bottom of your yarn tail. Then, loop your yarn tail around to make a circle.

Insert your hook into the center, crocheting around both strains of your yarn. Then, make 6 single crochet in the magic circle. Pull yarn tail tight to close circle.
For row two, you will make 2 single crochet in each of the 6 stitches.
Place a stitch marker in the last single crochet you just made.
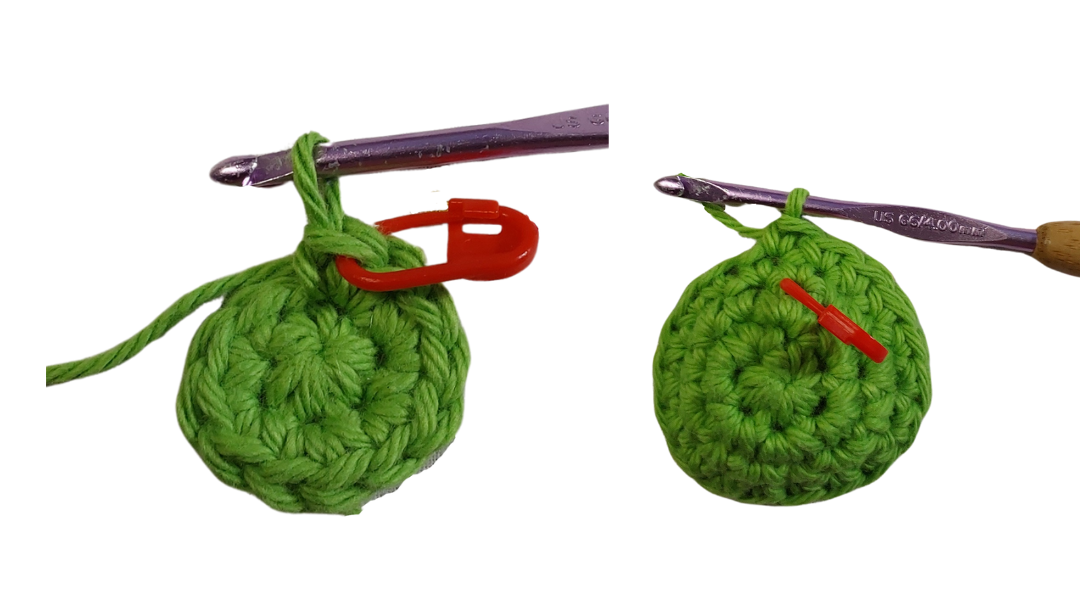
For row three, make 2 single crochet in the first stitch. Then, 1 single crochet in the next. We will repeat the pattern *(2sc, sc)* until you reach your stitch marker.
For row four, make 1 single crochet in each stitch.
Work around your stitch marker and you wont have to count each stitch of the remaining rows.
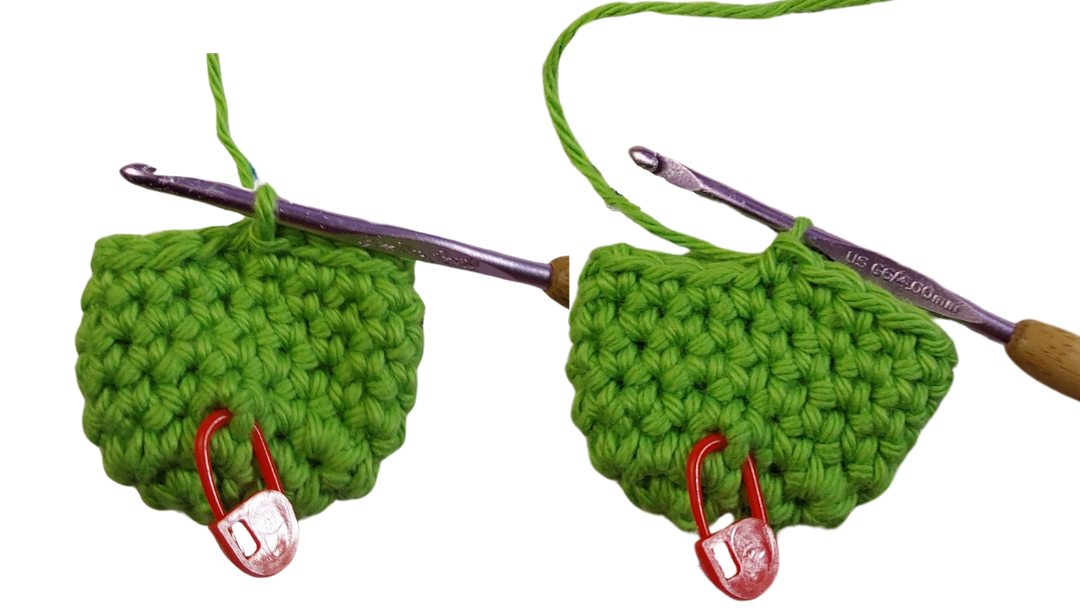
For row five through seven, make 1 single crochet in each stitch.
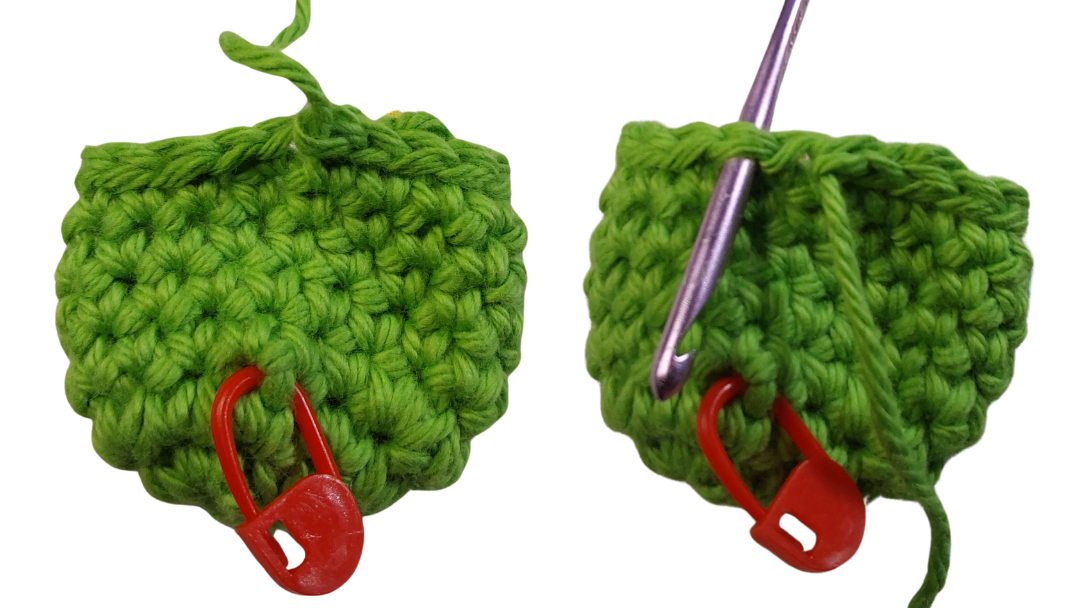
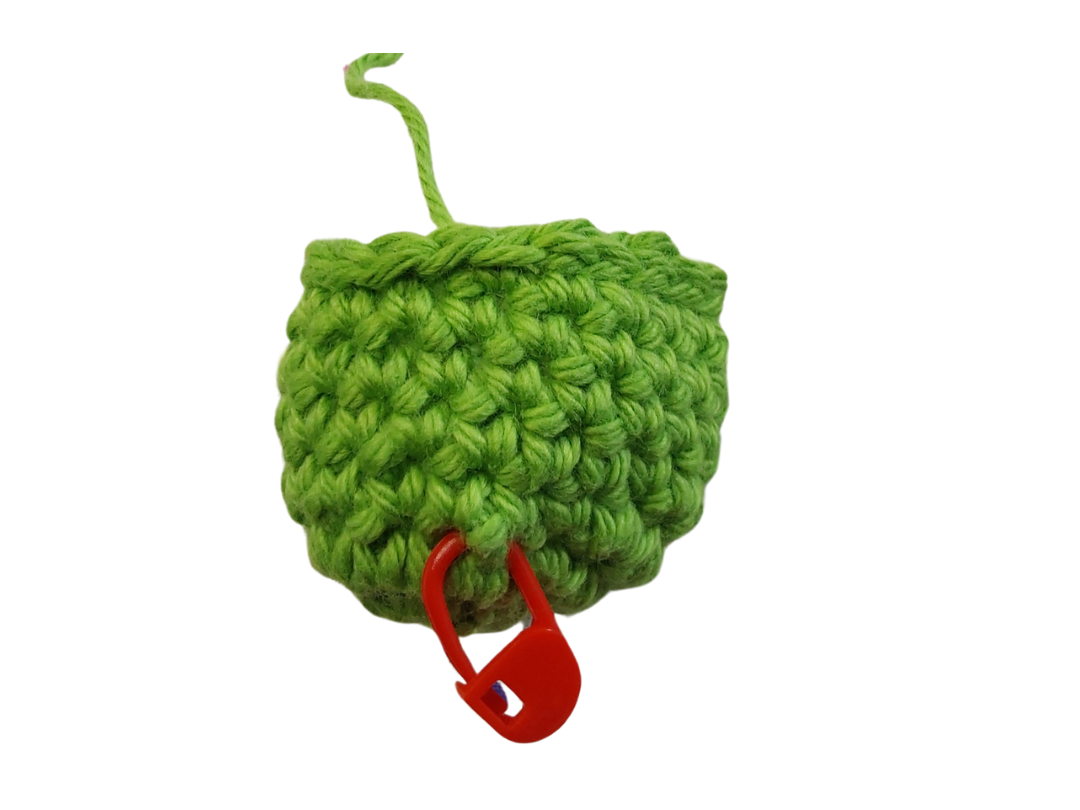
After completing row 7, make a slip stitch in each stitch around.
Be sure to make them loose so it fits over your lid knob easily.
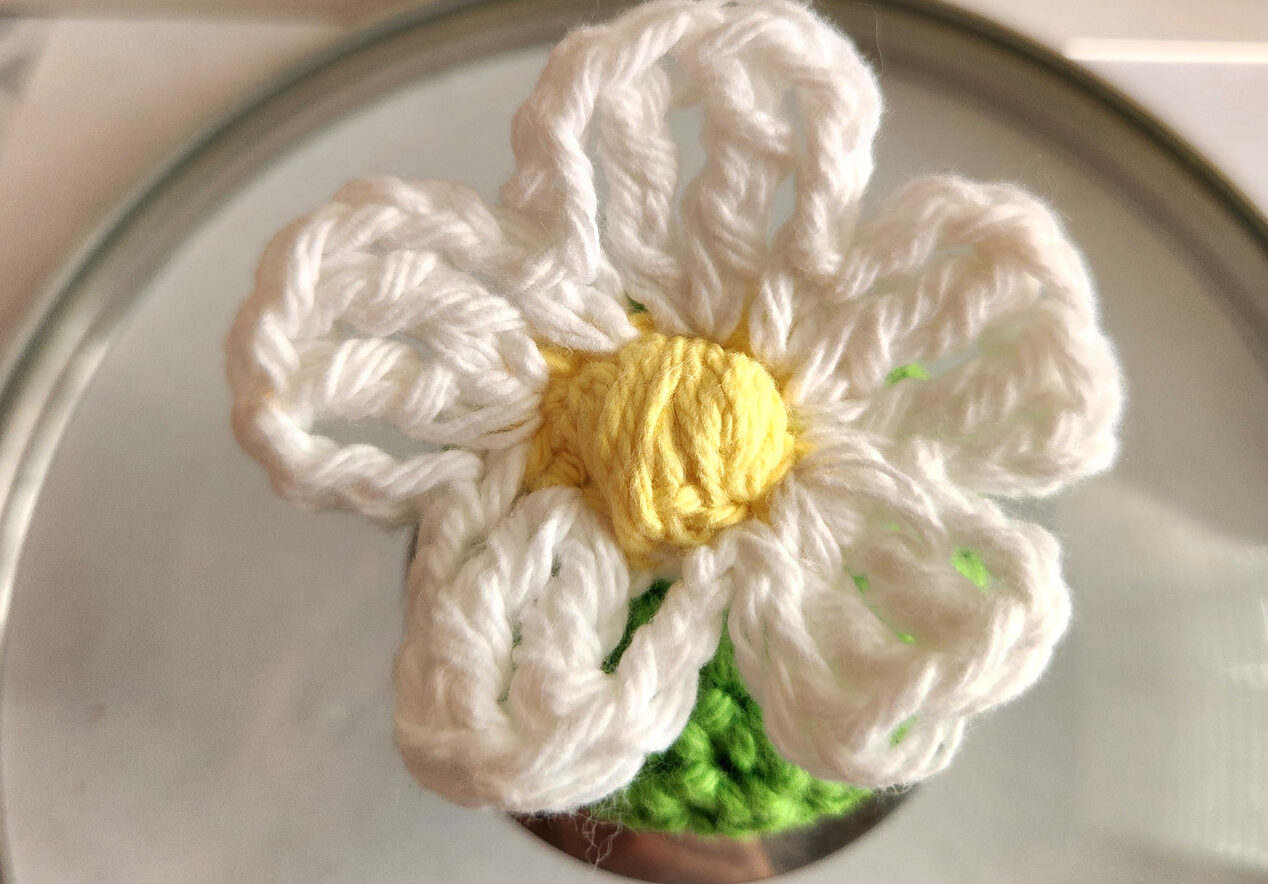
Daisy Flower
Start with yellow yarn and 4 mm crochet hook.
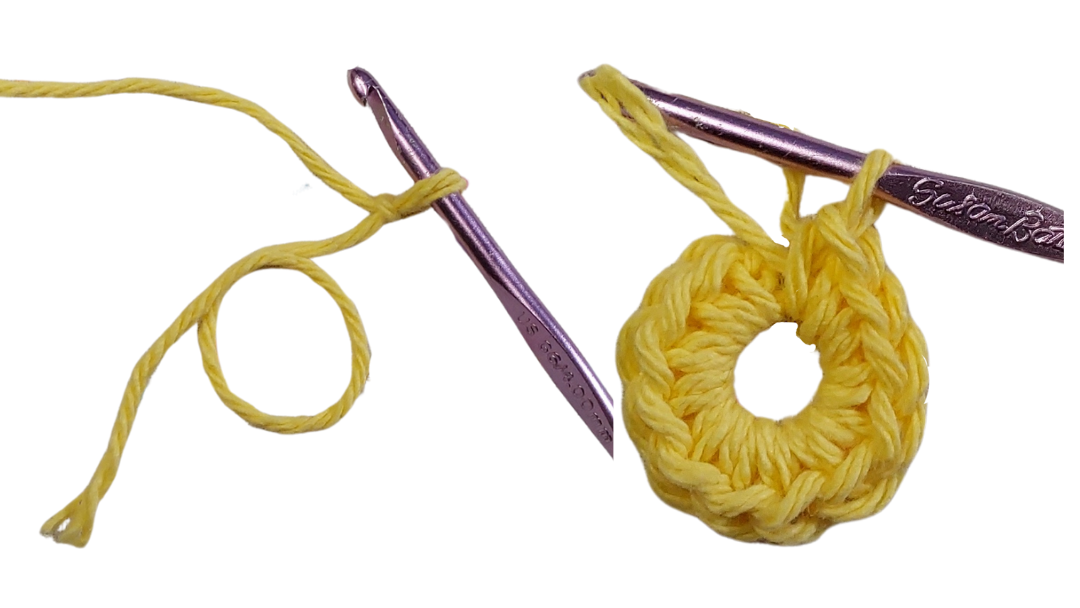
Make magic circle:
Start with making a slip knot about 8 inches from the bottom of your yarn tail. Then, loop your yarn tail around to make a circle.
Insert your hook into the center, crocheting around both strains of your yarn. Then, make 12 single crochet in the magic circle. Pull yarn tail tight to close circle.

Make a slip stitch and fasten off. Pull yarn tail to the back with your crochet hook
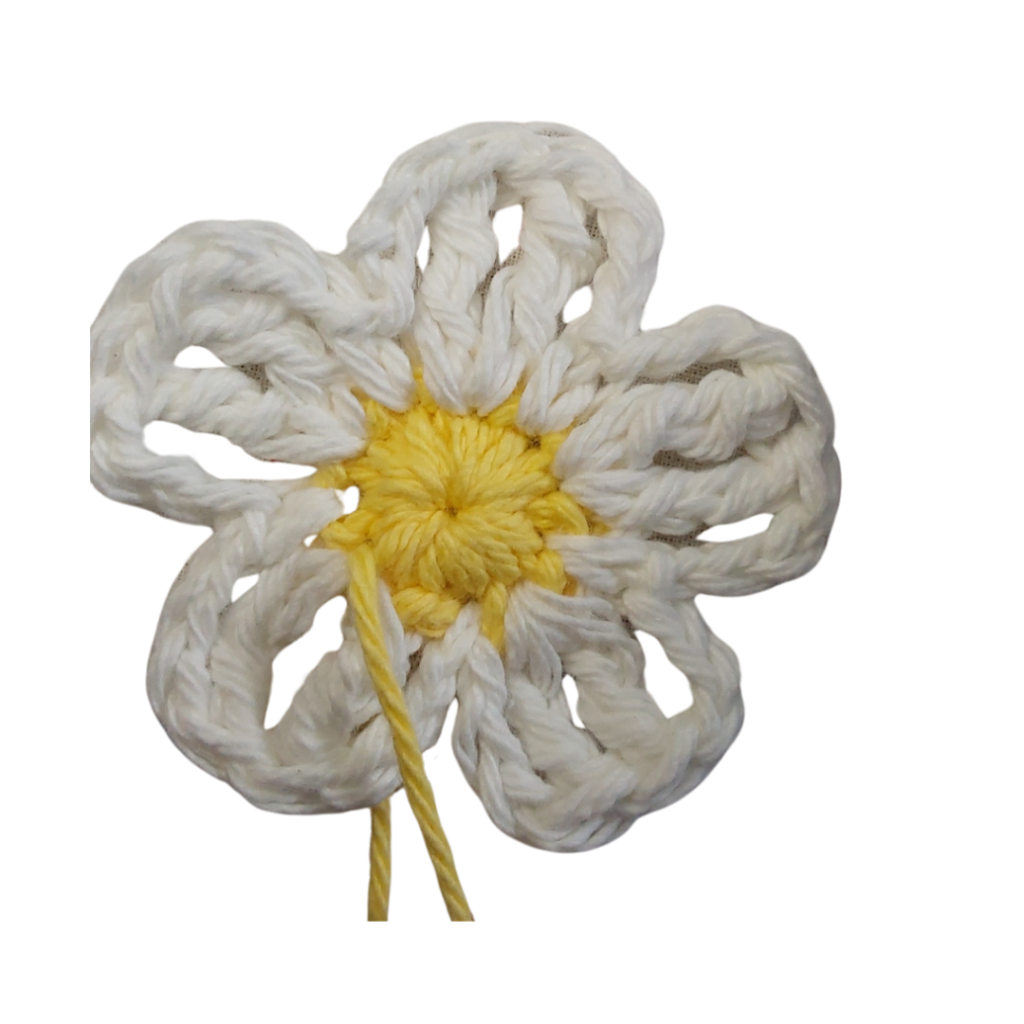
Change to white yarn and still using your 4 mm crochet hook. Attach your yarn with a slip stitch in any of the 12 stitches.
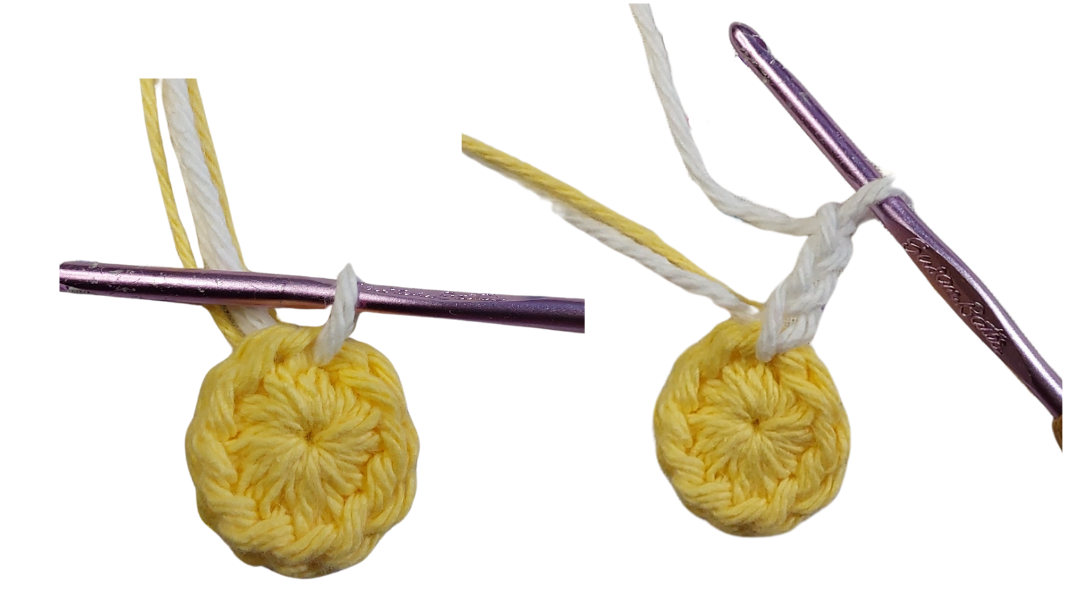
Then chain 3 and in the next stitch you will make 2 triple crochets. Then, chain 3 and single crochet into the next stitch.
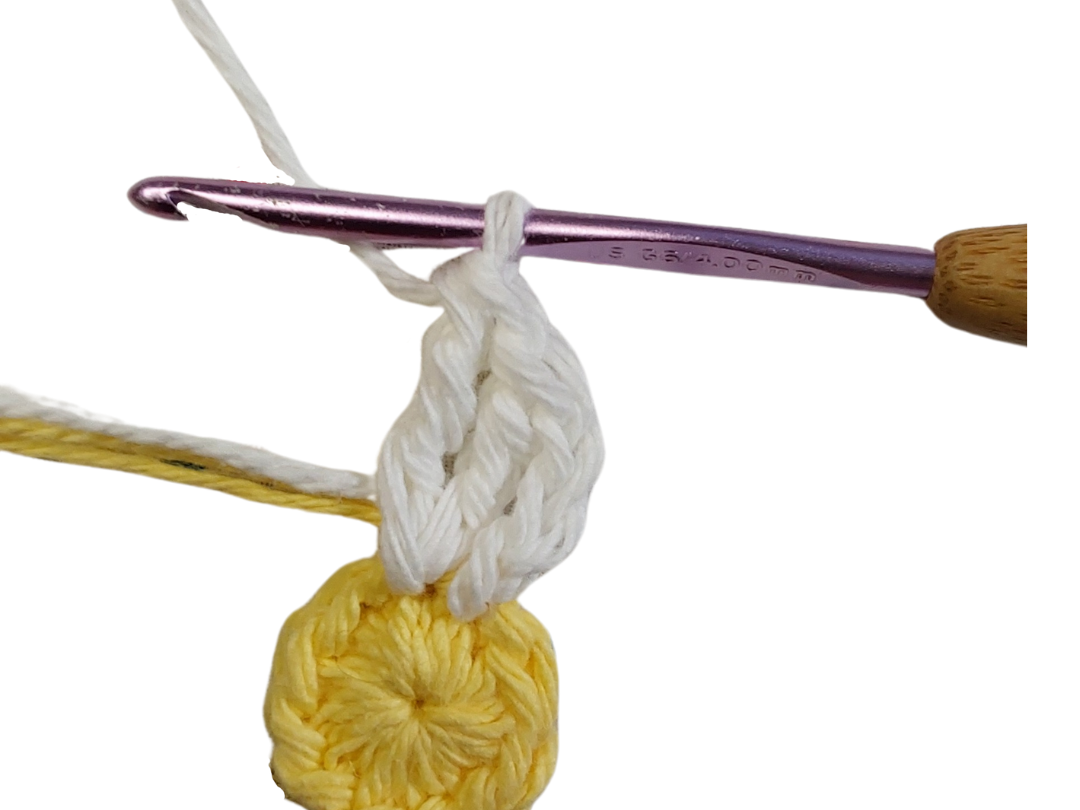
Chain 3, 2 triple crochet in the next stitch, chain 3, then make single crochet in next stitch.
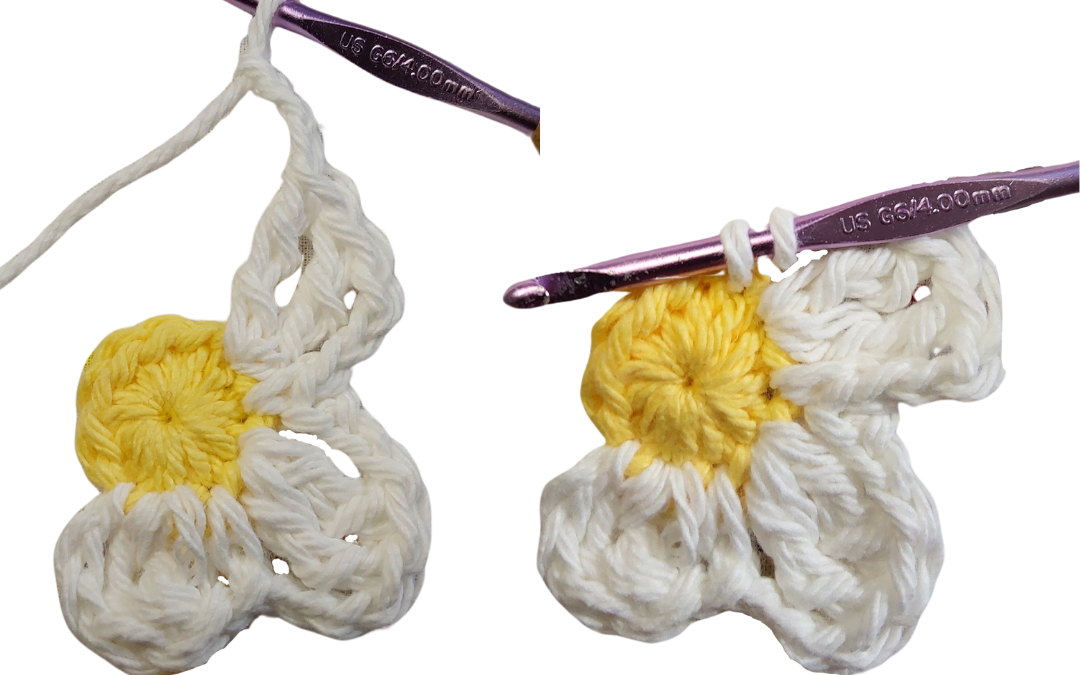
You will repeat *(Ch 3, 2 tr in next st, ch 3, single crochet in next st)* a total of 6 times to make 6 petal for our daisy flower.
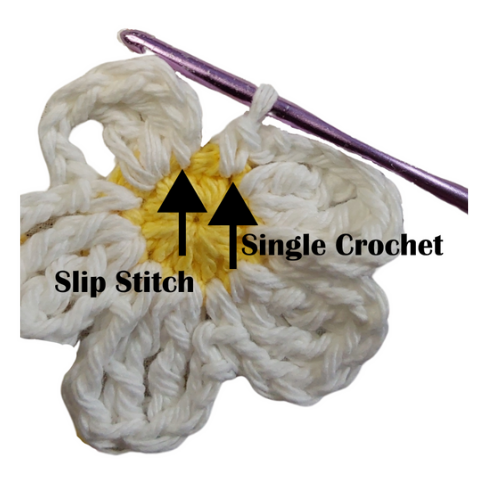
Finishing up your last stitch of petal 6 make a slip stitch into the same space that you attached the white yarn (at the bottom of your very first chain 3)
Attaching daisy flower to pot knob cover
There are many different ways your can attach your daisy flower such as using a standard needle and thread you could also use hot glue.
I like to attach my daisy flower to my pot knob cover by cutting about 24 inches of the yellow yarn and using a metal crochet hook.
Insert the yarn needle from the bottom to come through the top leaving 4 inches of the yellow yarn tail on the bottom side, now go over a stitch and insert your yarn needle from the top of the flower to the bottom.
Now make a knot to secure the beginning yarn on the bottom of the daisy flower.
Then cut beginning yarn tail.
Now go back up from the bottom of the daisy flower with the yarn needle.
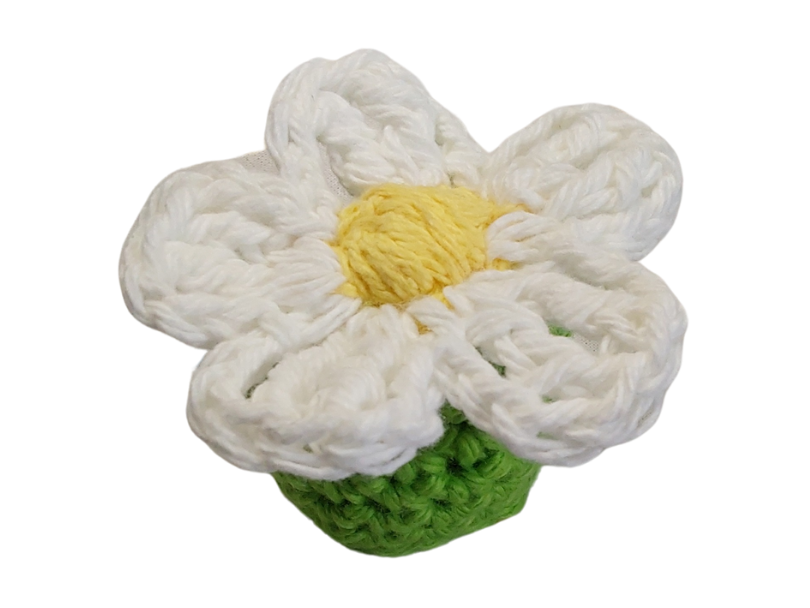
Place your green crochet knob cover under the daisy flower and now go from the top of the flower through the green cover to begin to attach firmly to one another.
Then go back up to the top of the flower with your yarn needle.
This time do not go all the way through the green knob cover but grab ahold of the top of the green knob cover yarn but not deep enough to see the yellow yarn when looking through the bottom of the green knob cover.
Now work over the beginning 12 single crochet looping your yarn with your needle over the top of the yellow single crochet to make it look puffy.
Going from one side to the other still grabbing the top of the knob cover green yarn to secure the two together. Make as many passes you would like and in any pattern.
Fasten off and weave ends in.
Here is my blog post if you would like to make a sweater for your furbabies! ❤️
Size Medium
Size Large
And PDF pattern
Size Medium
Size Large